- A+
Resetting Ink Waste Counter
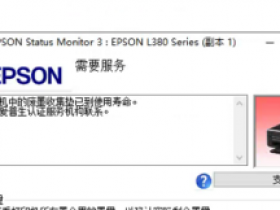
Most inkjet printers have a built-in ink waste counter to estimate how much ink has been used and how much waste ink has been accumulated. Once this counter reaches its limit, the printer may stop working or display an error message, even if the ink cartridges still have some ink left. This is done as a safety precaution to prevent the ink from overflowing and damaging the printer's internals.
While some printer manufacturers offer programs to reset the waste ink counter, others do not. In this article, we will discuss how to reset the ink waste counter on your printer manually.
Step 1 - Identify the Model of Your Printer
Before you begin, ensure that you have the correct instructions for resetting the ink waste counter for your printer model. You can find the model of your printer by looking for the nameplate on the back, bottom, or side of the printer. Alternatively, you can check the manual or the manufacturer's website for model information.
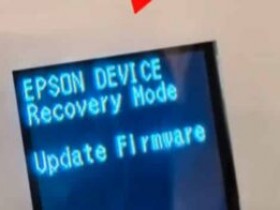
Step 2 - Enter Service Mode
Most printer models have a service mode that allows you to access various settings and perform maintenance tasks. To enter service mode, follow the steps below:
Turn off the printer and unplug it from the power source.
Hold down the resume or cancel button and press the power button while holding it down. Continue to hold down the resume/cancel button for another five seconds.
Release all buttons once the printer starts up in service mode. You should see a message indicating that you are in service mode.
Step 3 - Reset the Ink Waste Counter
Once you are in service mode, locate the ink waste counter setting. The name and location of this setting may vary depending on the printer model. Look for phrases like "absorber counter," "waste ink counter," or "ink pad counter."
Once you have found the setting, follow the instructions to reset the counter to zero. Again, the exact steps may vary depending on the printer model. Some printers may require you to press a combination of buttons in a specific sequence, while others may have a button or menu option to reset the counter.
Step 4 - Exit Service Mode
After you have reset the ink waste counter, you need to exit service mode to return the printer to normal operation. To exit service mode, follow the steps below:
Turn off the printer and unplug it from the power source.
Wait for a few seconds before plugging the printer back in.
Turn the printer back on and wait for it to initialize.
You have now successfully reset the ink waste counter on your printer. This should allow you to continue using the printer without any issues related to waste ink accumulation. However, keep in mind that resetting the ink waste counter is only a temporary solution. If your printer regularly accumulates waste ink, you may need to have it serviced or purchase a waste ink kit.
Conclusion
Resetting the ink waste counter on your printer can be a simple process if you have the correct instructions and follow the steps carefully. However, it is important to note that resetting the counter is only a temporary fix, and you may need to explore other options if your printer continues to accumulate waste ink. Always refer to your printer's manual or the manufacturer's website for specific instructions, and perform any maintenance tasks with caution.
- 我的微信
- 这是我的微信扫一扫
-

- 我的微信公众号
- 我的微信公众号扫一扫
-