- A+
Introduction
If you own an inkjet printer, you have likely heard of the "waste ink pad" or "maintenance box." These are both terms that refer to the same thing: a small sponge that collects excess ink during the printing process. Over time, this pad becomes saturated with ink and needs to be replaced. In this video tutorial, we will show you how to quickly and easily replace the waste ink pad on your printer.
Step 1: Determine if Your Printer Needs a Waste Ink Pad Replacement
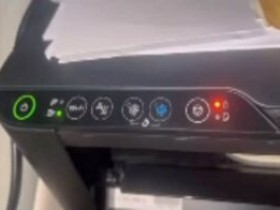
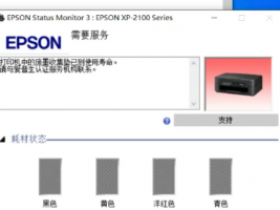
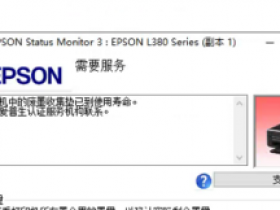
Before you can replace the waste ink pad, you need to determine if it needs replacing in the first place. Depending on your printer model, you may receive an error message or warning light when the waste ink pad is full. Alternatively, you may notice ink leaking out of your printer or a decline in print quality. If you are experiencing any of these issues, it is likely time for a replacement.
Step 2: Gather Your Materials
To replace the waste ink pad, you will need a few materials. These include a new waste ink pad (which you can purchase from your printer manufacturer), disposable gloves to protect your hands from ink, and a screwdriver to access the ink pad compartment.
Step 3: Access the Ink Pad Compartment
The next step is to access the ink pad compartment on your printer. The location of the compartment will vary depending on your printer model, but it is typically located near the printer's carriage or print head. To access the compartment, you will need to remove any covers or panels that are in the way. Use your screwdriver to remove any screws or bolts that are holding these parts in place.
Step 4: Remove the Old Ink Pad
Once you have access to the ink pad compartment, you should be able to see the old ink pad. Carefully remove the pad and dispose of it. Be sure to wear your disposable gloves during this step to avoid getting ink on your hands or clothes.
Step 5: Install the New Ink Pad
With the old ink pad removed, it is time to install the new one. Take your new ink pad and carefully slide it into place in the ink pad compartment. Make sure it is seated securely and in the correct orientation.
Step 6: Reassemble Your Printer
Now that the new ink pad is installed, it is time to reassemble your printer. Replace any covers or panels that you removed in Step 3 and use your screwdriver to secure any screws or bolts that were removed.
Conclusion
Replacing the waste ink pad on your printer is a simple process that can help extend the life of your printer. By following the steps outlined in this video tutorial, you can quickly and easily replace the ink pad and continue to enjoy high-quality prints from your inkjet printer.
- 我的微信
- 这是我的微信扫一扫
-

- 我的微信公众号
- 我的微信公众号扫一扫
-