- A+
Introduction
As a printer owner, you may encounter various problems during the printer's normal operation, such as paper jams, dirty print heads, and even printer error messages. While some of these issues can be solved through basic troubleshooting, there are times when it is necessary to reset the printer to clear any accumulated errors. This article will focus on the Epson R330 printer and provide step-by-step instructions on how to reset it to factory settings.
Step 1: Turn off the Printer
The first step is to switch off the printer by pressing the power button. Once the printer is turned off, unplug the power cord from the wall outlet.
Step 2: Press and Hold Resume and Power Button
Next, press and hold the Resume button and the Power button simultaneously.
Step 3: Release the Resume Button
After holding down both buttons for about five seconds, release the Resume button. The Power button should still be held down.
Step 4: Press the Resume Button
Within 1-2 seconds, press the Resume button again and release both buttons at the same time. The printer will begin to perform a self-test.
Step 5: Print out the Self-Test Page
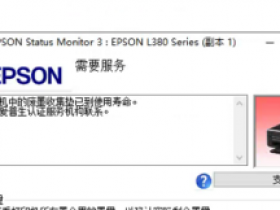
When the printer's self-test is complete, a Self-Test page will be printed out. Check this page to make sure the printer is functioning correctly. If there are still errors, you may need to reset the printer again or contact Epson customer support for additional assistance.
Conclusion
In conclusion, resetting the Epson R330 printer to factory settings can help to clear any accumulated errors and improve the printer's overall performance. By following the simple steps outlined in this article, you can easily reset your printer and get back to printing high-quality documents and images. If you still experience issues with your printer after resetting, don't hesitate to seek professional help from Epson customer support.
- 我的微信
- 这是我的微信扫一扫
-

- 我的微信公众号
- 我的微信公众号扫一扫
-